
 EN
 English
 繁体中文
 Italian
 Greek
 Spanish
 Hebrew
 Japanese
 Portuguese
 Korean
 Russian
 French
 German
 Arabic
Blog & Events
Follow NOVANEON for more valuable information to know early
Follow NOVANEON for more valuable information to know early
Oct 28Source: Views: 6
Architectural LED linear lighting projects can reduce glare through four coordinated levers: luminance control, shielding and diffusing optics, mounting and layout optimization, and dimming and zoning controls. Each lever addresses a different source of visual discomfort.
Luminance control caps the surface brightness of the fixture itself. Shielding and diffusing optics soften the light before it reaches the eye. Mounting height, spacing, and aiming shape how occupants encounter the light. Dimming and zoning controls match output to actual use.
For architects, lighting design professionals, and facility managers, these choices carry real weight. Poor glare control undermines visual comfort, slows task performance, and compromises design intent. The right combination protects all three.

Glare in lighting describes the visual discomfort or loss of visibility that occurs when a light source is far brighter than the surroundings the eye has adapted to. The effect ranges from mild annoyance to a genuine safety concern, and it shapes how occupants experience a space. Architectural work raises the stakes, because a fixture that reads well on a plan can still produce a harsh line of light in the finished room.
Several conditions produce glare in lighting. The most common is excessive brightness at the source, where the lamp surface emits far more light than the task or background requires. The eye adapts to the darkest and brightest areas in a scene, and a wide gap between them forces constant readjustment. High-output lights without shielding expose the eye directly to that intensity. Bare led diodes visible from eye level create the same problem in a smaller package. Lighting specialists separate the outcome into discomfort glare, which causes squinting and fatigue, and disability glare, which actually degrades the ability to see detail. Direct glare from an unshielded source falls into both categories. Overly bright fixtures also wash out contrast on screens and work surfaces. A fixture that looks impressive in a photograph can still fail at desk level. A glossy lens reflects room light and adds a second bright source. Surface color and texture change how much light bounces back into the room. Task performance suffers first, and complaints follow. Designers who understand these causes can target the source of glare rather than treat the symptom.
Linear led fixtures concentrate light along an integrated geometry. That shape controls distribution, yet it also places a long, uninterrupted emitting surface in the occupant's field of view. The fixture and the architecture read as one element, which is the appeal of the format. A wider luminous aperture helps here. The larger surface spreads the same light output over more area, so brightness at any single point drops while total output holds steady. A narrow aperture concentrates output into a tight line, and that line reads as intense from across a room. Continuous linear lighting runs amplify the problem compared with point-source fixtures. A downlight presents a small bright spot, and a baffle or lens can hide it. A linear run presents a bright band across the ceiling, and occupants see part of that band from almost any angle. High-angle brightness at the fixture edge adds to the effect. Occupants at a distance see the fixture at a shallow angle, and that angle exposes the brightest part of the lens. Led fixtures with clear lenses and no diffusion make every diode a potential source of glare. Led fixtures with deep recessing or frosted optics manage the same output with far less visual stress. Glare in lighting rarely traces to one factor in these runs. The geometry itself is not the fault. The combination of length, high-angle brightness, and insufficient shielding is, and the glare persists until a designer addresses all three. The longer the run, the more of the ceiling becomes a light source rather than a surface. A run mounted low in a lobby puts the lens near eye level for standing occupants. Diffusion alone cannot fix a run that sits too close to the eye.
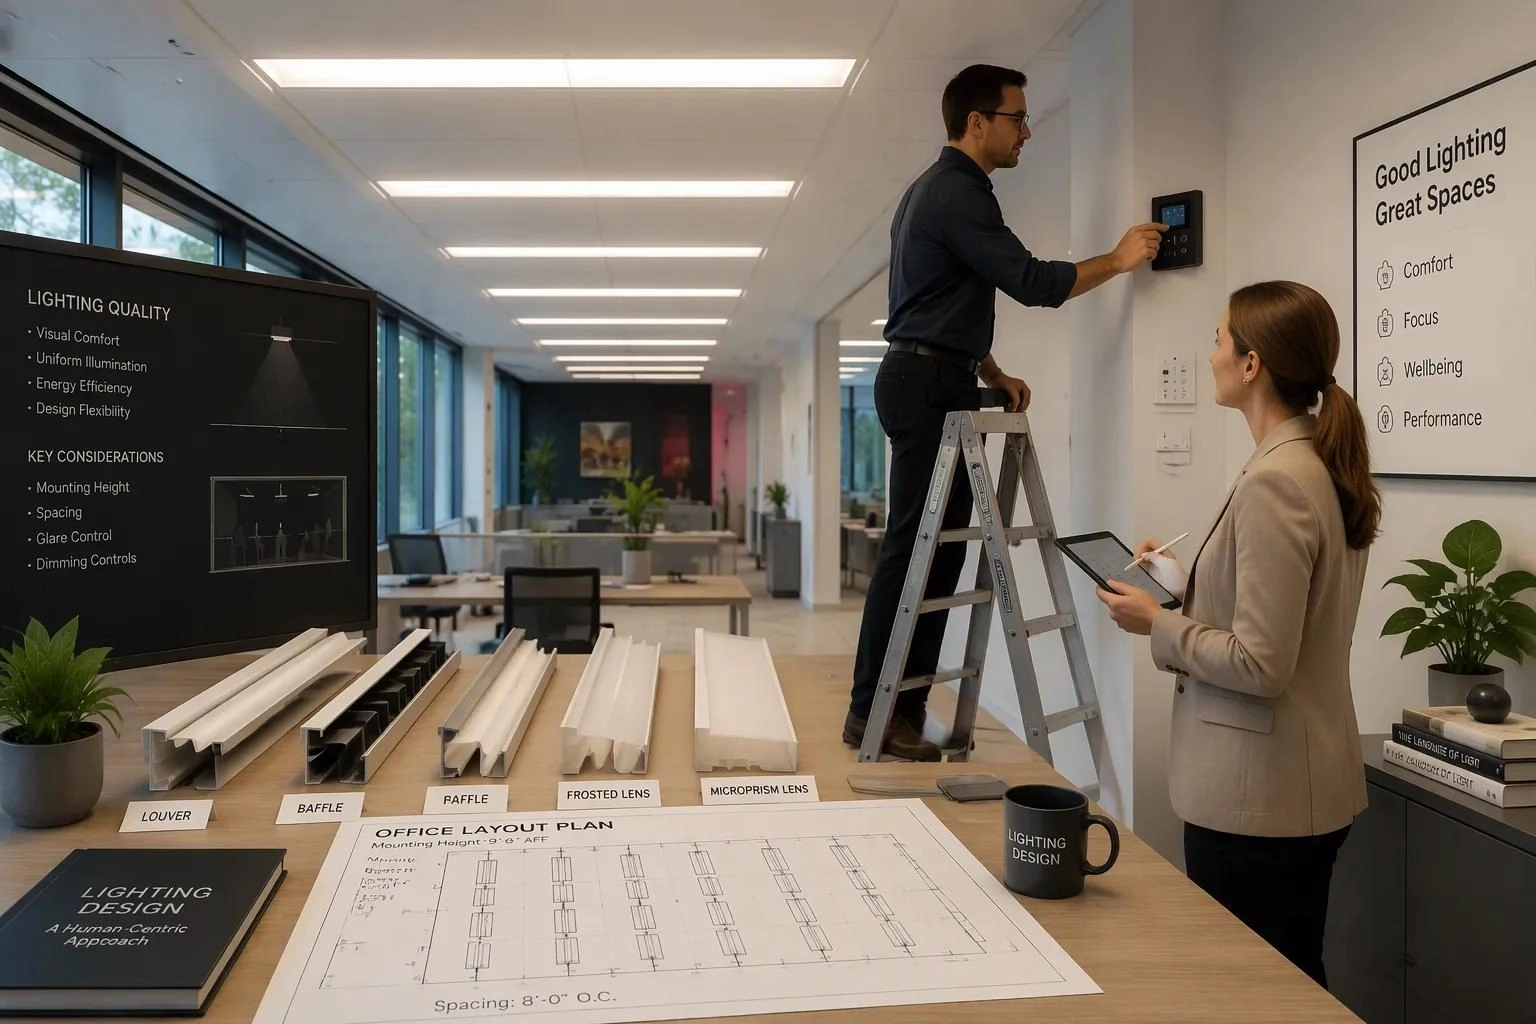
Shielded fixtures form the first line of defense against glare in lighting. A recessed trim, a deep baffle, or a cabinet lip hides the led diodes from direct line of sight at seated and standing eye levels. Light valances work well where occupants change position often, because they block the source across a wide range of viewing angles. Even recessed led fixtures need a cutoff angle check, especially in open spaces where adjacent areas allow views into the fixture underside.
Lenses, diffusers, or glare shields soften the emitting surface itself. Diffused COB strips, high-density led arrays, and frosted lenses reduce visible hot spots and improve beam homogeneity. Louvers add another layer of optical control by cutting high-angle rays before they reach the eye. Beam angle accuracy matters here. A fixture rated for a narrow beam that spills light at wide angles defeats its own shielding. Uniform light distribution across the aperture keeps brightness even, so no single point becomes a hot spot. Mock-ups help identify critical glare paths before final placement.
Spacing, mounting height, and beam angles determine how occupants meet the light. The table below offers reference ranges for linear layouts.
Mounting Height | Recommended Spacing |
5–6 m | 2.2–2.8 m |
6–8 m | 2.8–3.5 m |
Above 8–10 m | 3.5–4.5 m |
Continuous rows along aisle directions create stable longitudinal coverage and reduce bright-dark fluctuations. Aisle-oriented optics help reduce glare and improve uniformity. Concealed or indirect mounting keeps the source out of view entirely. Avoiding overlighting matters as much as any shield, since excessive brightness drives both discomfort and disability glare.
Dimming and zoning controls add a complementary layer. Continuous dimming prevents abrupt light-level jumps. Daylight zoning applies response mainly to perimeter areas with windows, which limits over-lighting and contrast-driven glare. Closed-loop sensing maintains task levels without over-brightening. Each strategy fits a different situation: shielding suits high-visibility runs, layout changes suit new builds, and controls suit daylit spaces.
Design intent and visual comfort rarely conflict when the team plans both from the start. Seamless lines and concealed mounting can coexist with low glare. Recessed channels hide the source while preserving the continuous look. A wider luminous aperture softens brightness without breaking the line. The table below shows how three project types balanced the two goals.
Case Study | Setting | Linear LED Approach | Glare Control Outcome | Aesthetic Outcome |
Office Space Optimization | Large corporate office | Recessed linear LED lighting with daylight sensors and occupancy controls | Reduced glare, improving employee satisfaction | Modern aesthetic aligned with company brand image |
Retail Environment Enhancement | Retail chain | Suspended linear lighting with tunable white LEDs | Maintained a welcoming atmosphere while highlighting displays | Enhanced shopping experience and increased dwell time |
Healthcare Facility Lighting Upgrade | Hospital renovation | Surface-mounted linear lighting integrated with nurse call and emergency systems | Uniform illumination improving safety and operational efficiency | Consistent, clean appearance across patient areas |
Office linear layouts commonly target a UGR below 19, the unified glare rating threshold that lighting design practice treats as comfortable for screen-based work. IES recommendations and regional codes such as California Title 24 reinforce that target with power density and control requirements. A properly designed led lighting system documents both.
Museums and galleries need a different balance. High-CRI fixtures above 95 render colors faithfully without harsh intensity. Linear wall washing lights wall-mounted works evenly and avoids shadow interference. Adjustable optics such as l'art Zoom fine-tune beam spread for an even, gentle wash, and l'art Multi offers broader controlled coverage for glass-framed pieces. Designers position lights outside the visitor's sightline and test from normal viewing positions. These steps reduce glare and visual clutter while protecting the art.
Glare control costs vary widely across the available strategies. Shielding and louvers carry a moderate premium per fixture, and the added material and depth raise unit prices. Diffusers and frosted lenses sit at the lower end, because they add little hardware and integrate into standard housings. Precision optics cost more than simple diffusion, since beam angle accuracy demands tighter tooling and testing. Dimming and zoning controls shift spending toward sensors, drivers, and commissioning labor rather than fixture hardware. Layout changes cost the most in new construction, where spacing and mounting height affect ceiling design, but they cost little in a renovation that already plans new runs.
Budget matters, yet cost per fixture tells only part of the story. Recessed wafer and puck downlights can reduce glare at lower cost than some spec-grade fixtures, which makes them a practical choice for tight budgets and simple ceiling plans. A designer should weigh first cost against maintenance, energy use, and occupant comfort over the life of the installation.
Each strategy suits a different application and budget. Shielding fits high-visibility linear runs in lobbies and open offices, where occupants see the fixture from many angles. Diffusers fit retrofit projects that need a fast, low-cost fix. Precision optics fit galleries and retail, where beam control protects displays and artwork. Controls fit daylit perimeter zones and spaces with changing occupancy. Layout changes fit new builds, where the team can set mounting height and spacing before construction.
Good lighting design matches the strategy to the room, the budget, and the compliance target. A layered approach often delivers the best result. A modest diffuser plus careful placement may control glare as effectively as an expensive shielded fixture in the wrong position. Teams should review led fixtures against the project goals, confirm brightness levels at eye height, and test samples before committing to a full order.
Architects and lighting designers reduce glare through four coordinated levers: luminance control, shielding and diffusers, mounting and layout, and dimming controls.
Causes come first. Linear geometry and high-angle brightness make long led runs prone to discomfort, and shielding addresses that source directly. Layout and controls then manage how occupants meet the light. A UGR below 19 and California Title 24 compliance protect visual comfort without breaking seamless lines. Cost trade-offs vary: diffusers cost less than precision optics, and layout changes cost most in new builds.
Teams should treat glare in lighting as a layered, project-specific process. Review fixture specifications, confirm beam angle accuracy, and run mock-ups before finalizing the layout.
Please provide the following detailed information so that our business representatives can better understand your needs and get in touch with you as soon as possible.