
 EN
EN
 English
 繁体中文
繁体中文 Italian
 Greek
Greek Spanish
 Hebrew
 Japanese
 Portuguese
 Korean
 Russian
 French
 German
 Arabic
Blog & Events
Follow NOVANEON for more valuable information to know early
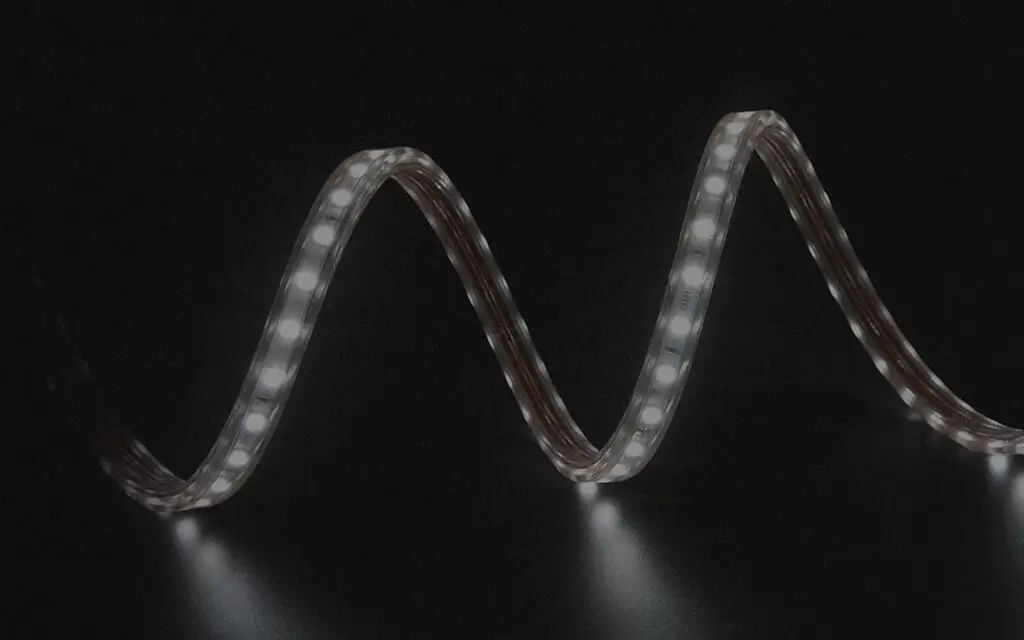
Follow NOVANEON for more valuable information to know early
Aug 04Source: Views: 224
Flawless accent lighting relies on a well-kept woodworking secret: precise channel routing dimensions paired with micro-cavity air gaps for heat dissipation. Crafting clean illumination inside custom timber requires absolute precision. Woodworkers face a tough technical challenge every day. They must balance razor-thin aesthetic tolerances in solid wood with complex electrical wire management and continuous thermal release.
This comprehensive guide equips woodworkers with exact router depth settings and stealthy drill angles for hidden wiring paths. Craftsmen also discover reliable methods for continuous 24V driver concealment and seamless flush mounting. Master these technical secrets to integrate Indoor LED flex into high-end furniture effortlessly.
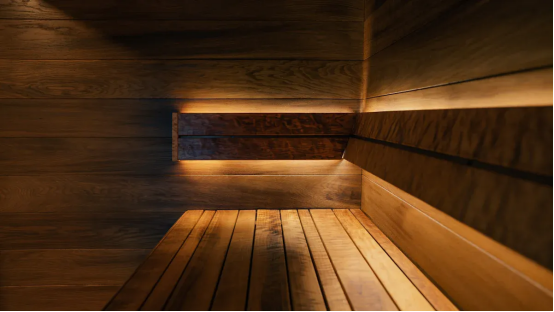
Woodworkers transform basic furniture into luxury pieces with hidden accent lights. Clean channel routing creates a professional look without visible hardware. Precision cutting tools allow craftsmen to embed light strips directly into timber surfaces.
Craftsmen choose solid carbide down-cut spiral bits for channel cutting. Down-cut bits push wood fibers downward and yield crisp top edges on delicate veneers. Standard straight bits can tear wood grain, so sharp spiral geometry gives much cleaner cuts.
Precise groove dimensions ensure a tight press-fit installation. Woodworkers cut channels exactly 0.2 millimeters wider than the lighting strip housing. A channel that is too wide lets light strips sag over time. A channel that is too tight crushes delicate internal circuit boards.
Tip: Woodworkers always test router bit depth on scrap timber pieces to verify proper friction alignment before cutting expensive project boards.
Custom furniture requires compact lighting housings to preserve structural integrity. Ultra-slim profiles blend seamlessly into cabinet faces and shelving undersides.
Woodworkers select specific micro sizes based on cabinet dimensions:
· 3×3mm: Best suited for ultra-minimalist designs and very narrow channels.
· 3×5mm: Offers a balanced profile size for standard furniture and wardrobe illumination.
· 5×5mm: Provides increased brightness within a compact housing.
These miniature profiles allow builders to integrate flexible Indoor LED flex strips into thin wardrobe shelves without compromising strength.
Proper channel depth extends the lifespan of internal electronics. Woodworkers route channels 1.0 millimeter deeper than the light strip thickness. This micro-cavity air gap allows continuous thermal clearance behind the silicone body.
Corner radii demand extra routing attention during assembly. Router bits leave rounded corners inside channel turns. Craftsmen route smooth 5-millimeter curve radii at direction changes. Smooth curves prevent severe pinching along the Indoor LED flex circuitry. Proper air clearance and gentle corner turns ensure cool operating temperatures across solid timber assemblies.
Clever wiring methods separate fine hand-crafted joinery from amateur projects. Craftsmen hide power paths completely inside timber structures. This process protects electronic connections and keeps cabinet lines immaculate.
Hiding power wires starts with accurate drilling techniques. Woodworkers drill wire channels through solid wood joinery before final furniture assembly.
Follow these steps for invisible wire paths:
1. Mark the Entry Point: Place the entry mark directly inside the end of your routed channel.
2. Set a 45-Degree Angle: Position a long-reach brad point drill bit at a 45-degree angle pointing toward the cabinet back panel.
3. Drill the Pass-Through Hole: Bore slowly through the wood to prevent tear-out on hidden surfaces.
4. Chamfer the Bore Edge: Smooth the hole entrance with a small countersink bit so sharp wood edges will never cut wire insulation.
Standard clip-on connectors add bulk and block tight channels. Craftsmen always solder wire connections directly to low-profile power pads.
First, locate the printed scissor icons along the strip. Woodworkers cut Indoor LED flex strictly at these manufacturer-designated cut marks. Sharp shear cutters make clean perpendicular cuts across copper pads.
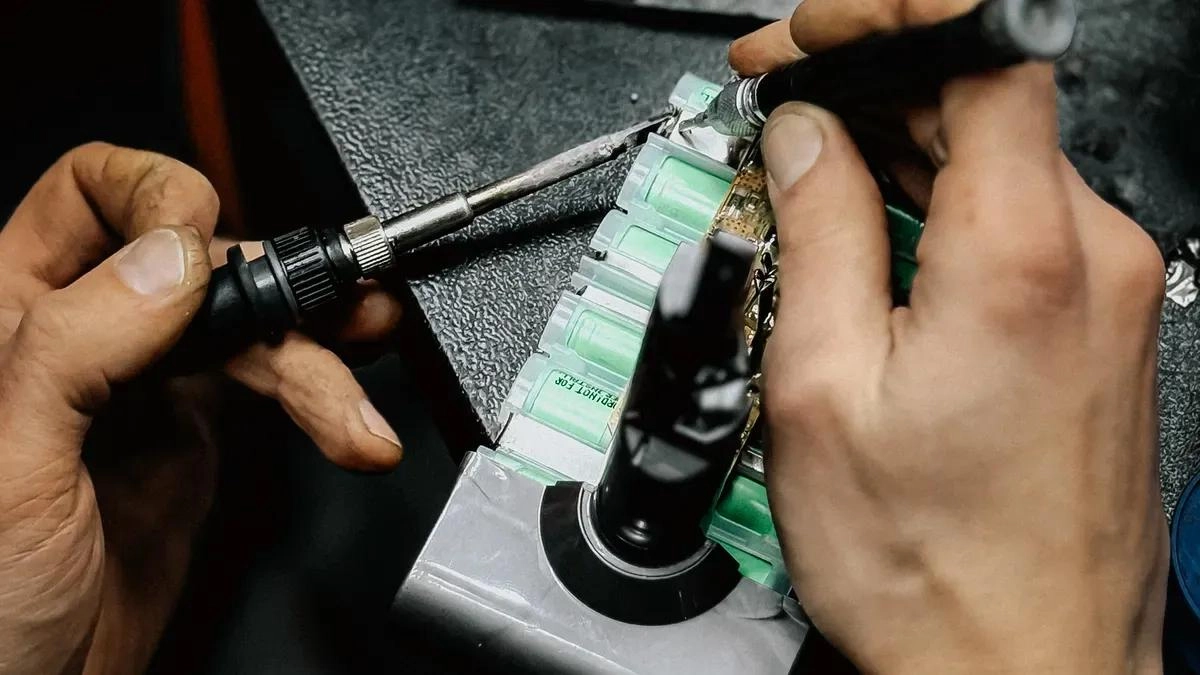
Next, strip 2 millimeters of insulation off thin 20-AWG stranded wire. Tin both the copper wires and the strip pads with a small touch of solder. Hold the wires flat against the pads and apply brief heat with a fine chisel soldering tip. Slide a thin piece of clear heat-shrink tubing over the joint to seal the delicate electrical bond.
Power supplies generate heat during continuous operation. Placing a 24V driver inside an airtight wooden box causes driver failure.
Important Note: Always leave at least 50 millimeters of open space around all sides of your power driver for passive cooling.
Woodworkers build discrete power supply compartments near the back or bottom of custom cabinetry. They cut narrow ventilation slots on the top and bottom of these housing panels. Warm air rises out through top slots while cool air enters from below. Removable false cabinet backs or magnetic access panels allow easy maintenance access without damaging finished woodwork.
Craftsmen achieve seamless light integration during the final assembly phase. Neat physical fitting and safe adhesives secure lighting components inside custom furniture permanently.
Craftsmen secure lighting strips using precise physical tension. They insert the Indoor LED flex into the custom routed groove starting from one corner. A hard plastic roller or smooth wooden push block applies gentle, even pressure along the entire length. Builders avoid using metal screwdrivers because sharp tools puncture delicate flexible circuit boards.
Pro Tip: Apply pressure gradually from the wire entry point outward to prevent bunching or stretching the flexible light strip.
The engineered 0.2-millimeter tolerance creates a firm friction grip. This physical grip holds the strip tightly in place without squeezing fragile internal components.
Wood movement and thermal expansion sometimes require extra bonding power. Craftsmen apply neutral-cure, 100% silicone adhesives inside deep channels for long-term stability. Acid-cure silicones release acetic acid during curing. This acid corrodes delicate copper pads and causes timber discoloration over time.
Woodworkers follow a minimal application routine:
· Clean Channel: Wipe fine wood dust away using a dry tack cloth.
· Apply Micro-Dots: Place small drops of neutral silicone spaced 100 millimeters apart.
· Set Strips: Press the flexible strip firmly against the channel bottom.
· Remove Excess: Wipe away squeezed adhesive immediately with a damp microfiber cloth.
A flawless finish requires a completely flush light face. Craftsmen snap continuous frosted diffuser covers onto the micro-profiles. These diffusers scatter individual diode light spots into a continuous smooth glow.
Mounting Style | Diffuser Position | Visual Effect |
Flush Mount | Level with wood surface | Clean, modern, invisible housing |
Recessed Mount | 1mm below wood surface | Soft shadow lines, reduced side glare |
Woodworkers light-sand the wood edges surrounding the profile with 220-grit sandpaper after installing the diffuser. This final smoothing step removes tiny ridges between the timber and the plastic cover. The finished surface feels completely continuous to the touch. Light spreads evenly across cabinet interiors without revealing any hardware.
Success with integrated illumination requires strict attention to precise measurements and clean execution. Craftsmen follow this core checklist for flawless results:
· Channel Tolerance: Cut channels 0.2mm wider than the strip housing for a secure friction fit.
· Router Setup: Select carbide down-cut spiral bits and route grooves 1.0mm deeper to create a thermal air gap.
· Drill Strategy: Bore pass-through wire holes at a 45-degree angle and chamfer every sharp edge.
Final Inspection: Builders power on the light system to inspect diffusion consistency and verify total wire concealment across all joinery angles.
Woodworkers master these hidden installation secrets to elevate basic timber projects into extraordinary architectural pieces with Indoor LED flex.
Craftsmen can press silicone LED flex directly into wood grooves. However, aluminium channels disperse heat much better. Metal profiles also protect delicate light strips from natural wood expansion and adhesive contamination over time.
💡 Tip: Always use neutral-cure silicone if you glue light strips directly into timber channels.
Builders add 1.0 millimeter of extra depth to the routed groove. This micro air gap behind the light strip allows continuous thermal release. Proper ventilation prevents timber damage and extends the operating lifespan of the electronics.
Craftsmen choose solid carbide down-cut spiral router bits. Down-cut bits press wood fibers downward during high-speed cutting. This geometry leaves crisp, clean channel edges without tearing delicate surface veneers.
24V systems push electric power more efficiently over longer distances. They experience far less voltage drop across cabinet runs. This electrical stability guarantees consistent, uniform brightness along the entire length of the furniture piece.
Please provide the following detailed information so that our business representatives can better understand your needs and get in touch with you as soon as possible.