
 EN
EN
 English
 繁体中文
繁体中文 Italian
 Greek
Greek Spanish
 Hebrew
 Japanese
 Portuguese
 Korean
 Russian
 French
 German
 Arabic
Blog & Events
Follow NOVANEON for more valuable information to know early
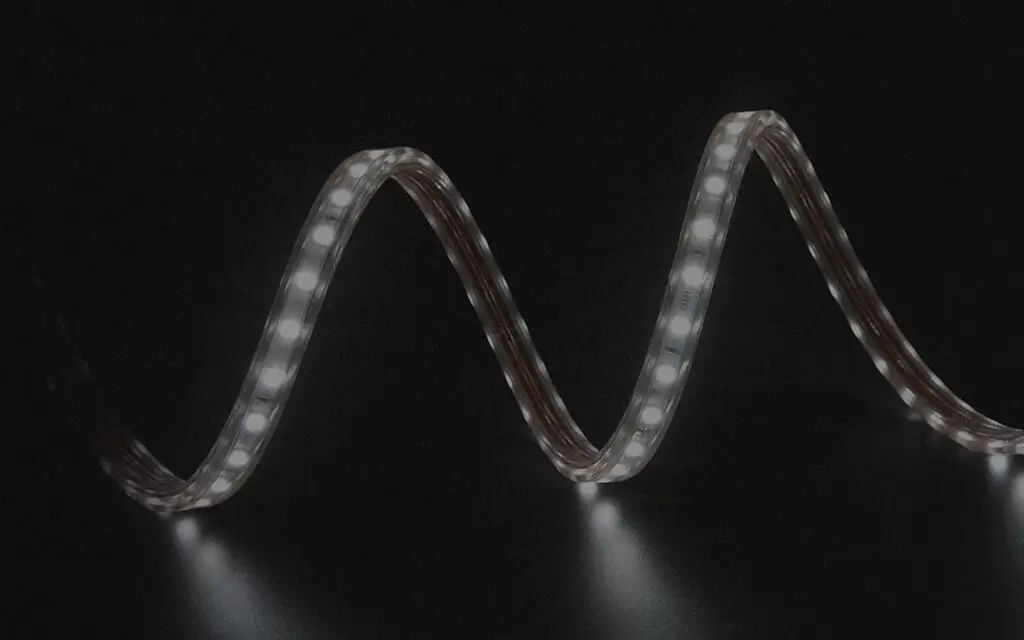
Follow NOVANEON for more valuable information to know early
Aug 07Source: Views: 219
Installing classic flexible neon accents transforms any dark space quickly. Skilled DIYers cut, solder, and seal these LED strips safely by following standard safety tips. First, cautious installers always disconnect all electrical power supplies before touching any wires. Working in well-ventilated work spaces protects builders from dangerous soldering fumes.
A pre-installation dry fit test verifies full circuit functionality before anyone makes permanent adjustments. Enthusiasts line up their flexible lighting layout to check every single electrical connection carefully. Following a reliable safety guide prevents electrical shorts and expensive equipment damage. These practical step-by-step instructions help hobbyists manage the tricky cutting process with total confidence.
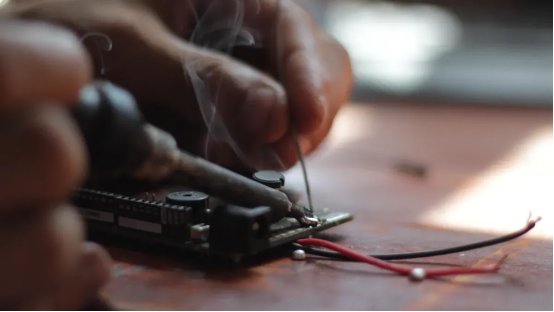
Smart DIYers gather essential tools before starting any project. Reliable led neon flex projects require a temperature-controlled soldering iron, rosin-core solder, wire strippers, heat shrink tubing, and silicone sealant. Choosing a quality iron protects sensitive circuit board components from intense heat.
A temperature-controlled soldering iron improves the reliability of neon flex lighting connections through several key functions:
· Setting Precise Temperatures: The tool adjusts to an optimal range of 300-400°C based on solder type, preventing heat damage.
· Controlled Heating Duration: Rapid operations complete in under 3 seconds, minimizing thermal stress on delicate parts.
· Targeted Application: A pointed tip heats specific solder pads and wires without touching nearby LED chips.
· Process Efficiency: Pre-tinning components reduces required heating times and limits thermal exposure.
· Preventing Cumulative Damage: Proper cooldown periods between rework attempts prevent continuous high-temperature stress.
Safety gear forms the foundation of every home electrical project. Installers put on safety glasses and heat-resistant gloves before handling warm gear. Following basic safety tips keeps makers safe from stray sparks and hot melted solder. Experienced builders always perform a dry fit test on the intended route before cutting any strips. This dry fit verifies proper circuit functionality and guarantees neat visual placement.
Proper layout planning reduces installation errors through a clear process:
1. Initial Vector-Based Design: Designers create a vector file in software to define the exact shape and size of the sign.
2. Pre-Production Engineering: Technicians analyze bending paths for the strip and calculate exact positions for mounting hardware.
3. Error Prevention: Upfront planning ensures the layout works physically, preventing cutting mistakes during assembly.
These essential tools simplify custom lighting projects. Accurate planning helps workers create secure connections across every section of led neon flex. With the right tips and gear, anyone builds durable custom installations safely.
Installers must prepare classic flexible neon strips properly before making any permanent modifications to the light fixture. Careful preparation when working with led neon flex prevents costly damage to internal circuit components and protective outer casing. DIY enthusiasts learn specific structural rules to achieve clean physical connections every single time.
Traditional led neon flex relies on fixed-interval cut points along the flexible circuit track. Manufacturers mark these designated locations clearly to show users where internal LED segments separate safely without breaking the circuit.
Manufacturer's Indicator | Its Determined Purpose |
Small black lines or scissor icons printed on the silicone housing | To visibly mark the safe cut points for the end user. |
These marks are placed at specific intervals along the strip | They indicate the precise gaps between internal LED segments. |
The designation of these points as the only valid cut locations | To prevent damage; trimming elsewhere breaks the circuit and causes a section to fail. |
Modern free-cut silicone neon strips offer exciting new design advantages over traditional fixed-interval strip options. Designers choose free-cut technology for advanced interior and exterior lighting projects:
· Slicing at any position without being limited to fixed cut points.
· Enabling custom lengths with maximum precision, which is perfect for detailed designs.
· Providing greater flexibility for complex shapes, signage, and architectural lighting applications.
· Reducing installation constraints and material waste during projects.
Can Programmable LED Strips be cut anywhere? No. Cut only at the manufacturer’s marked copper-pad locations. Slicing elsewhere can damage a pixel group, remove reconnection pads, or stop data from reaching the following section.
Builders use a sharp utility knife to slice through thick outer silicone walls safely. They press the razor blade through the protective sheath without slicing into the flexible PCB board or internal LEDs. Proper cutting requires a steady hand, patient focus, and clean vertical control. Workers expose the underlying copper solder pads to prepare classic flexible neon strips for future wire attachment. Anyone can cut neon flex lights successfully by focusing on precision during every single step.
Installers avoid frequent mistakes during cutting by reviewing proven assembly methods beforehand. The following list highlights critical errors to avoid during project layout and strip modification:
· Mistake: Cutting outside of designated points. Avoidance: Always locate and cut only at the manufacturer’s cut marks. Use sharp tools for a straight, clean cut.
· Mistake: Exceeding the maximum run length, causing voltage drop and dimming. Avoidance: Use power injection or split the installation into multiple shorter sections.
· Mistake: Bending the strip in the wrong direction, damaging the internal PCB. Avoidance: Verify the product's specific bending direction (top-bending or side-bending) before installation.
· Mistake: Poor waterproof sealing, especially after trimming, allowing water ingress. Avoidance: After trimming, properly seal the end of the strip with an end cap and silicone adhesive to maintain waterproof protection. Ensure all connectors are sealed for outdoor use.
Technicians complete accurate cuts to make custom neon signs look completely polished, bright, and highly professional. Careful trimming protects sensitive led neon flex channels from internal short circuits, voltage issues, and early product failure.
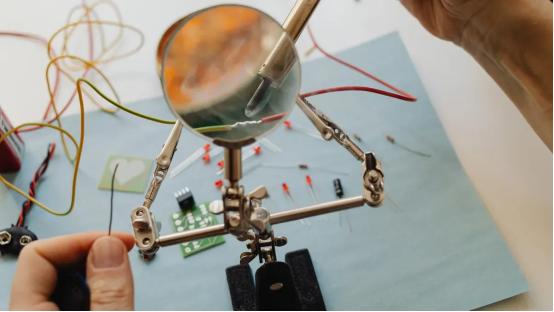
Makers choose between quick pin adapters and permanent wiring when joining led neon flex. Quick solderless pin connectors offer an easy joining method for beginners. However, soldering provides superior strength for custom 90-degree L-joints. Permanent soldering creates seamless corners and reliable end connections on intricate custom neon signs. Installers review a clear installation guide to compare both options before starting work.
Feature / Aspect | Solderless (Crimp) Connectors | Soldered Connections |
Core Principle | Mechanical crimp forming a unified, gas-tight bond. | Chemical bond using solder (a brittle metal alloy). |
Flexibility | Wire remains flexible right up to the connection point. | Solder wicks into strands, creating a rigid section that acts as a stress concentrator. |
Vibration Resistance | Excellent. The joint flexes with the wire, distributing stress. | Poor. The rigid solder joint is prone to cracking or causing wire breakage at the solder boundary. |
Environmental Sealing | High (when using sealed connectors). Adhesive-lined heat shrink creates a waterproof, corrosion-resistant seal. | Variable. Requires separate sealing; solder alone does not seal against moisture. |
Durability in Harsh Conditions | Specifically designed for automotive, marine, and outdoor use, enduring vibration, moisture, and thermal cycling. | Prone to failure in vibrating or harsh environments; cited as a common failure point in old vehicles/machines. |
Industry Preference | Industry standard for OEM automotive wiring due to proven long-term reliability. | Not preferred for high-vibration applications due to fatigue and fracture risks. |
Choosing the best attachment option depends on project needs and movement levels. Solderless pin clips speed up basic indoor runs. In contrast, soldering allows compact turns inside tight aluminum channels. Following helpful tips ensures clean physical connections across every segment. Proper connections ensure reliable power flow throughout every room. These secure methods keep lighting projects safe.
Technicians build tight corner joints for custom neon signs with careful heating techniques. Follow these simple step-by-step instructions to tin copper pads on led neon flex safely:
1. Apply electronics-safe flux to the copper pad to help the solder flow properly and reduce required heat time.
2. Tin the pad separately by adding a small amount of solder directly onto the copper pad.
3. Tin the wire end separately before making the final connection.
4. Fuse the connection quickly by placing the tinned wire on the tinned pad and applying heat briefly to flow the solder together.
5. Inspect the final joint to ensure it is smooth, compact, and fully seated on the pad, without bridges or cold solder bonds.
Installers always match correct electrical polarity during this step-by-step instructions sequence. They connect positive wires to positive pads and negative wires to negative pads. Reversing polarity prevents the led neon flex from lighting up properly.
Careful heat management protects delicate silicone walls from melting during soldering operations. Mechanics keep soldering iron tip contact short to prevent lifting copper pads from the flexible strip. After technicians cut neon flex lights, pre-tinning both surfaces speeds up the attachment step significantly. Rapid attachment limits total heat exposure. This smooth connection process establishes reliable power flow while preserving overall led neon flex flexibility. Installers establish stable connections across every individual run. These finished connections help hobbyists build durable decorative displays easily.
Technicians must restore complete weather protection after modifying classic flexible neon strips. Moisture damages bare end connections quickly if installers skip proper sealing steps. Workers apply waterproof silicone sealant inside dedicated end caps first. Next, they slide these caps firmly over exposed cut ends to create a tight moisture barrier.
Installers secure this seal using adhesive-lined heat shrink tubing. They apply gentle heat around the tubing until it shrinks evenly over the silicone casing. The internal adhesive melts, filling tiny gaps completely. This two-layer method keeps wet weather away from sensitive led neon flex components, guaranteeing reliable operation outdoors.
Safe installers test all electrical connections under low voltage power before mounting fixtures permanently. They connect the power supply to check for flickering or dead spots along the led neon flex track. Testing early saves valuable time because fixing wire errors proves much easier before final installation.
Metal is one of the best surfaces for mounting LED strips. Metal helps by pulling heat away from the PCB and dissipating it into the surrounding structure.
Choosing the proper channel surface impacts thermal performance and product lifespan significantly. Installers evaluate mounting options carefully to ensure continuous heat dissipation during operation.
Mounting Method | Description | Impact on Heat Dissipation in Enclosed Channels |
Surface-mounted to Metal | Directly fixing the aluminum profile/channel to a metal surface. | Best thermal conduction; can improve dissipation by up to 15% compared to insulating surfaces. |
Surface-mounted to Wood/Plastic | Mounting the profile on non-conductive surfaces. | May reduce thermal performance by 10-20% unless thermal pads/tape are used to bridge the gap. |
Recessed | Installing the profile into a precise cutout for a flush look. | Can restrict airflow around the channel, potentially reducing convective cooling. |
Suspended | Hanging the profile, creating an air gap around it. | Offers reduced heat conduction due to air isolation; requires profiles with larger surface area to compensate. |
Technicians clean metal channels thoroughly before applying surface adhesives or clips. Dirt and oil create thermal barriers that weaken adhesion. Smooth mounting completes the connection process cleanly, delivering bright neon flex lighting across any custom display.
Successful makers always follow four basic steps for custom lighting projects. First, designers plan their layout carefully. Next, installers slice classic flexible neon strips only at designated cut marks. Then, technicians solder wire connections with correct electrical polarity. Finally, builders seal all exposed ends using silicone sealant against moisture.
Installers must always test the full circuit under low voltage power before permanently mounting strips into channels or clips.
Taking extra time on wire insulation and joint integrity guarantees a safe, long-lasting installation. Proper cutting techniques protect delicate internal LED electronics safety. Careful layout preparation rewards every skilled DIY enthusiast with a smooth installation.
Makers keep iron contact short, lasting under 3 seconds at 300-400°C. They tin wire ends and copper pads separately beforehand. Rapid solder application prevents intense heat from melting surrounding silicone walls or lifting copper pads off the strip.
Bending strips too sharply damages internal circuits. DIYers cut strips at designated marks and solder short wire jumper connections instead. This method creates clean 90-degree joints for custom neon signs without placing physical strain on delicate circuit boards.
Installers work in well-ventilated spaces to clear soldering fumes quickly. Handy safety tips include wearing safety glasses and heat-resistant gloves. Builders always disconnect power supplies before touching exposed wires during assembly.
Moisture and movement weaken basic mechanical joints over time. Rain corrodes unsealed pins, causing flickering power flow. Installers prefer soldered wiring sealed with waterproof silicone and adhesive heat shrink tubing for secure outdoor connections.
Please provide the following detailed information so that our business representatives can better understand your needs and get in touch with you as soon as possible.